Starting Seeds Indoors
Get a jump-start on your garden by starting seeds indoors. Many house plants can be grown from seed, too, and more and more nurseries are offering them.
What You'll Need to Get Started
- Containers - You will need a shallow container. For a large number of seeds, seed starting trays work well. If you want an easy way to transplant seedlings later, use peat pots or pellets. Pellets are flat discs that expand when placed in water.
- Potting medium - You'll get your seedlings off to a good start with seed starting mix that's specially made for germinating seedlings indoors.
- Seeds - Start with good quality seeds. After waiting several weeks for them to germinate, you don't want to be disappointed. Some seeds need to be scored or pre-soaked before planting.
- Plastic cover - Seed starting trays often come with a plastic cover. If you don't have one, plastic wrap will do. This creates a moist environment that encourages sprouting.
- Warmth and Light - Seeds won't germinate and grow without sufficient warmth and light. Choose a bright spot, out of direct sun. For best results, use a grow light. A seedling heat mat will keep the growing medium at the ideal temperature for speedy germination and strong growth.
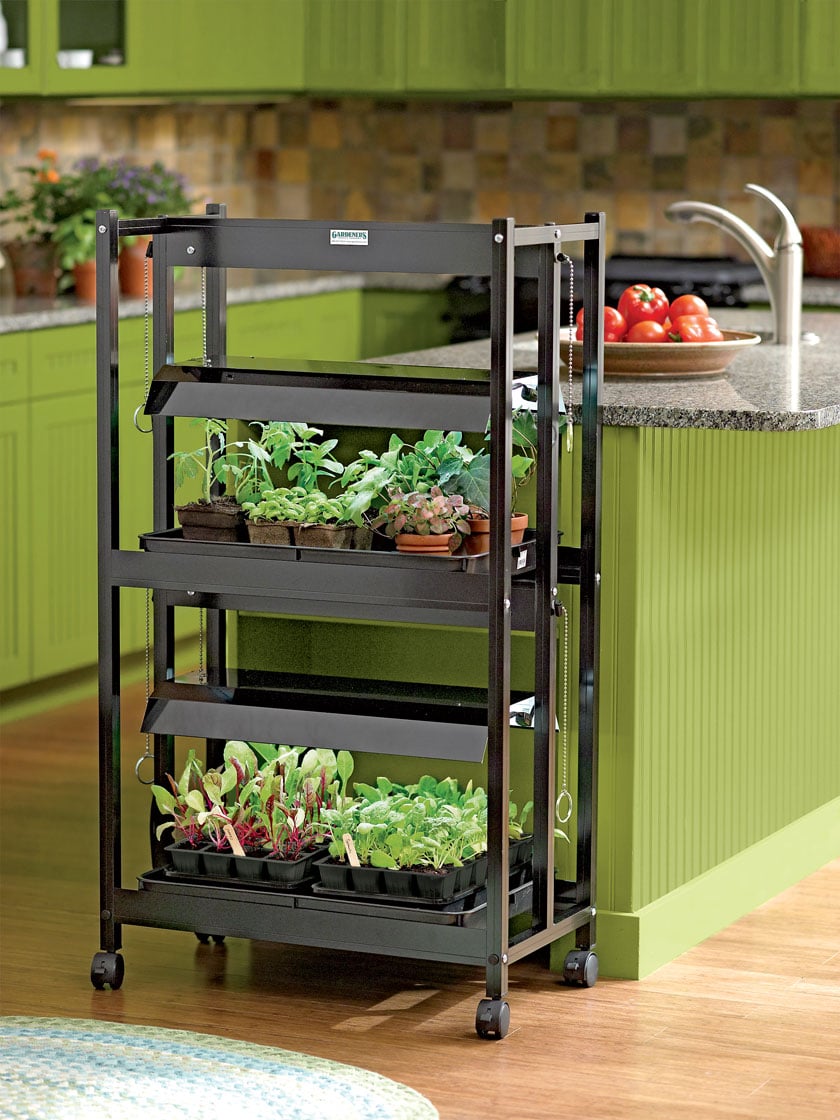
 Give your plants a head start by starting seeds indoors under a grow light.
Whether this is your first time starting seeds indoors -- or you're a seasoned germinator -- seed starting kits make the process a whole lot easier. Kits can provide everything you need for starting seeds indoors with less time and effort.
Disclosure: Guide-to-Houseplants.com participates in affiliate programs. If you make a purchase after following a link on this page, I may make a commission at no additional cost to you.
Find a Good Location
Choosing a suitable spot to give over to flats of seedlings for several weeks can be a challenge.
Starting seeds indoors in a sunny window is an option. However, for the strongest, healthiest plants, use artificial lights.
Free space on any shelf, bookcase, cabinet or workshop table should not be overlooked.
If space is limited, multi-tiered shelves will provide the most real estate for all your seedling trays. Just be sure to add fluorescent lights above each shelf, if they're not already built in.
Ready, Set...Sow
Warm Up or Chill Out?
Follow the temperature recommendation on seed packets carefully. Some seeds won't germinate if it's too warm or too cool. Just 10° can make the difference between all or none of the seeds germinating.
Because temperatures can vary dramatically from room to room, don't try to guess. It's a good idea to use a thermometer to be sure your seeds are kept at the just-right temperature. Check daytime and nighttime highs and lows.
The seed starting process itself is simple. There are just a couple things to do before sowing the seeds.
Prepare seeds. Most seeds are ready to sow straight from the packet. However, some seed coatings are so hard that they require scoring or soaking first so that they'll germinate quickly. Directions on the seed packet should tell you whether this is necessary.
- To score a hard seed coating, use a sharp knife to gently cut an "X" on the seed coating. Don't cut too deeply, just scratch the surface.
- Soaking seeds in warm water for 24 hours will soften the coating, for faster germination.
Moisten medium. Seed starting medium should be thoroughly dampened before seeds are sown. Fill a plastic bag with 4 parts medium to 1 part water. Squeeze the bag gently to mix it together. You shouldn't get mud...the medium should be damp, but not wet.
Steps for Starting Seeds Indoors
- Fill clean containers with damp seed-starting medium.
- Sow the seeds so they are covered to 3 times their diameter. Don't pack it down.
- Mark your containers. If you're sowing several types of seed, label each container with the variety of seed and the date planted. Just do it. Trust me, seedlings look alike and this will make your life considerably easier.
- Cover the containers with the plastic cover that came with the tray, or use plastic wrap. You probably won't have to water until you see the first tiny, green sprouts come up. Take care not to overwater. Soggy soil can promote damping off, a fungal disease that will kill the seedlings.
- Adjust the grow lights so they are 2 inches (5 cm) above the plastic cover. Set the timer to come on at the same time everyday for 16 hours. This gives them the 8 hours of darkness they need.
- Watch for the seedlings to grow their second set of leaves -- these are the "true" leaves. It's now time to thin out the seedlings to give the strongest seedlings more room to grow. You will want to leave only 1 seedling in each pot or pellet. If you used a seed tray or large container, pull out the smaller seedlings, allowing enough space to dig out each plant separately when you transplant them.
- Fertilize seedlings only after they develop 3 true leaves. Feed only after watering to avoid fertilizer burn.
- Transplant seedlings when their roots are poking through the bottom of the peat pots or pellets. For seedlings grown in trays, it's a good idea to allow them to grow as long as possible before transplanting. The stronger the seedlings are when you transplant, the better chance for success.
Recent Articles
-
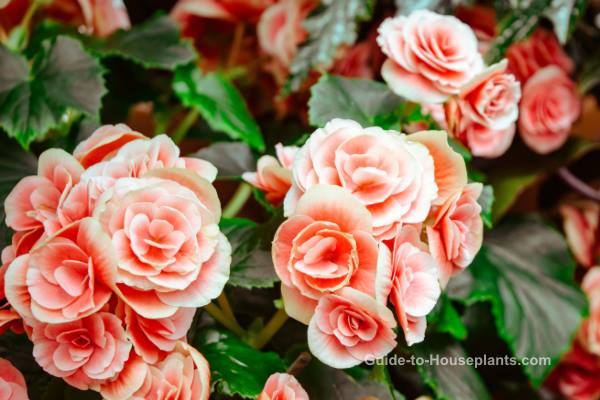
Begonia Care: Grow Tuberous Begonia Hybrids Indoors
Apr 23, 24 12:10 PM
 Get begonia care and grow Reiger begonia and other tuberous hybrids as houseplants. Discover how to get the most flowers and rebloom your begonia.
 -
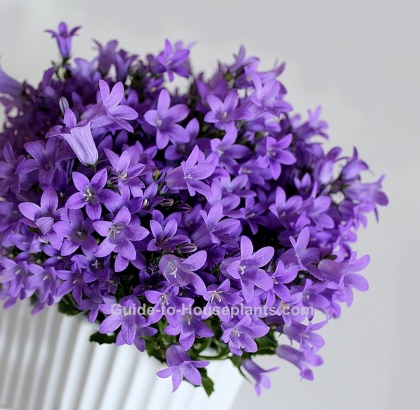
Campanula Flowers Make Gorgeous Houseplants
Apr 20, 24 01:07 PM
 Campanula flowers look best spilling over a tall pot. Get tips for growing campanulas indoors, how to get the most blooms, when to repot, and more.
 -
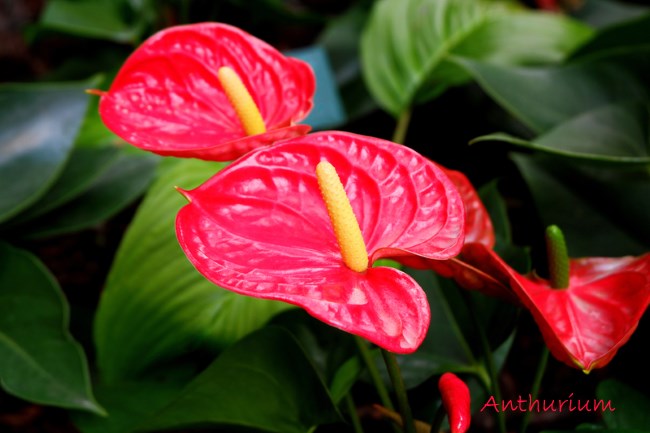
Anthurium Plant Care - How to Grow Anthurium andraeanum Indoors
Apr 17, 24 12:25 PM
 Anthurium plant is one of the world's most exotic tropical flowers. Discover Anthurium growing tips: sunlight, fertilizer, watering, repotting.